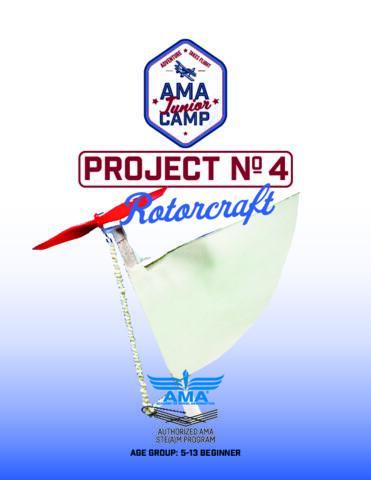
Project 4: Rotorcraft
Download PDF
AFS Age Group
The Mars helicopter Ingenuity, with its 72 flights and nearly 129 minutes of combined flight time, ignited our imaginations. It proved that flight on another world isn’t just a dream—it’s a stepping stone to even greater achievements in future missions. Now, let’s pay homage to this plucky drone by creating our own Mars Ingenuity lander in project 4 of the 2022 AMA Jr. Camp. Download the template today and embark on your Martian adventure! 🌟🛸
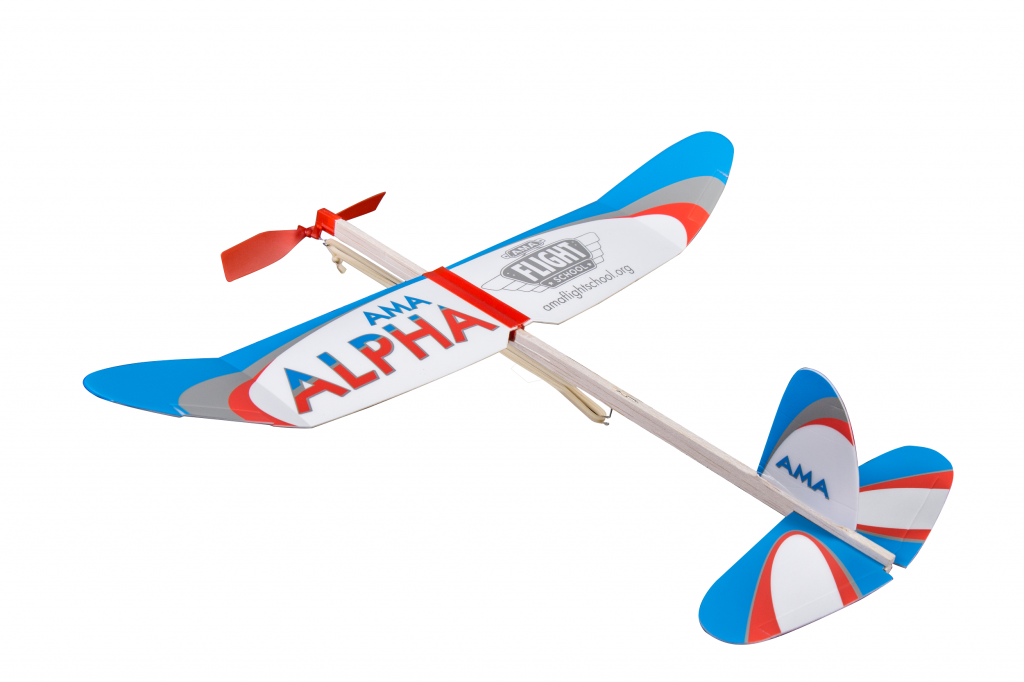
*Bonus Project* Dive into the world of model aviation with the AMA Alpha! This project will guide you through assembling and flying this exciting rubber-powered aircraft. Ready to take flight? Click to learn more!