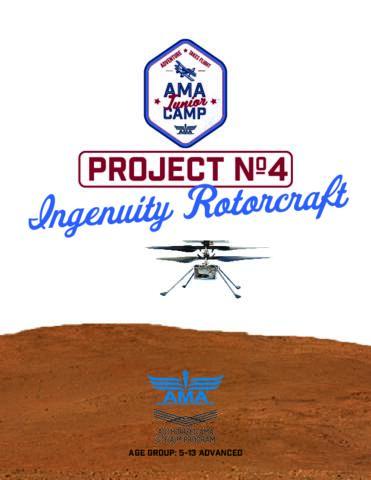
Project 4: Ingenuity Rotorcraft
Download PDF
Download PDF
AFS Age Group
Dive into the Fascinating World of Rotorcraft with AMA Jr. Camp V2’s Project 4!
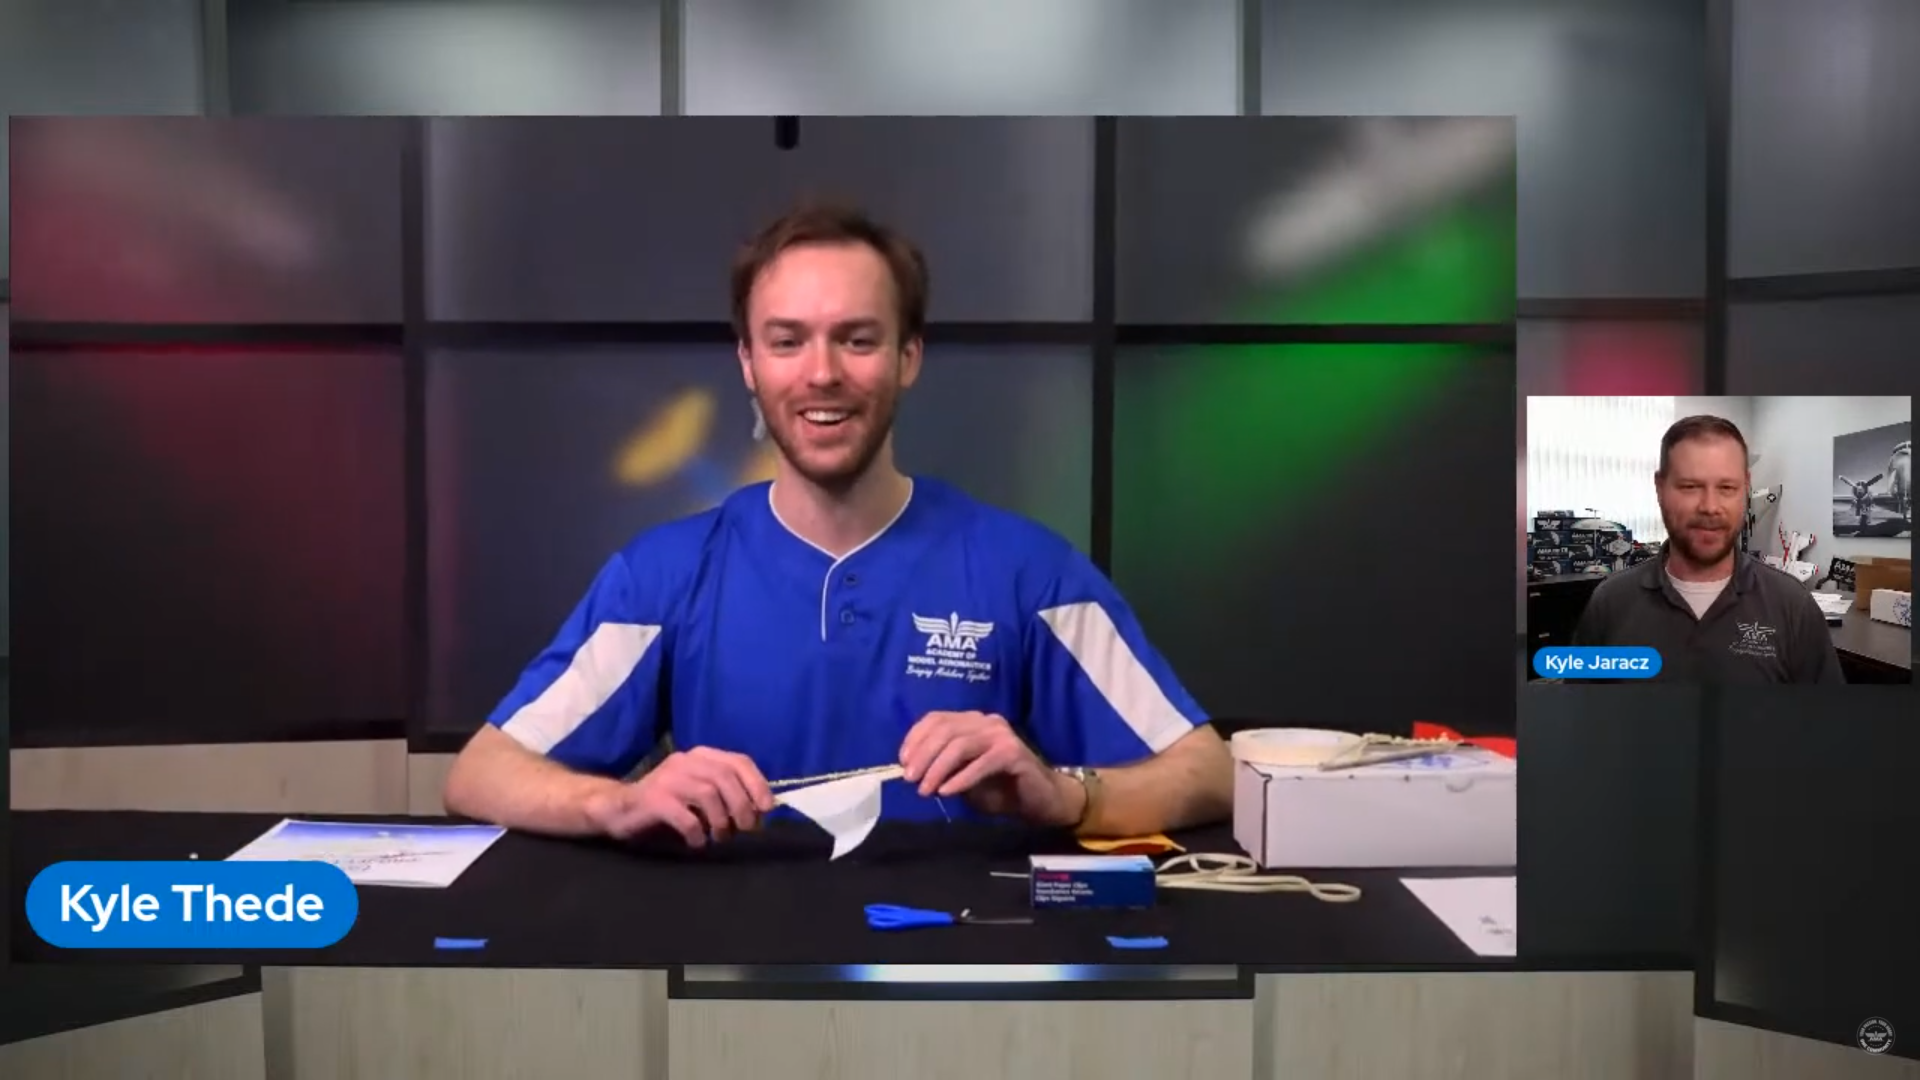
Embark on an adventure into the captivating realm of rotorcraft with AMA Jr. Camp V2’s Project 4. Uncover the secrets behind these incredible flying machines and experience the thrill of engineering your very own rubber-powered rotorcraft. It’s not just a project; it’s a journey through science, creativity, and discovery. Get ready to be amazed! 🚁🔍
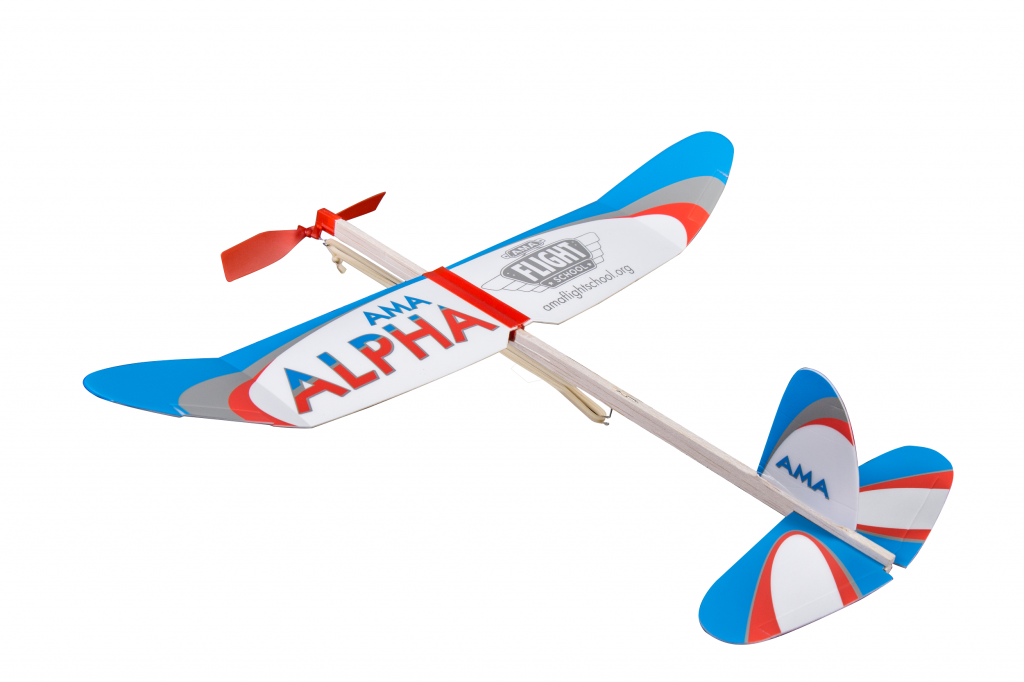
*Bonus Project* Dive into the world of model aviation with the AMA Alpha! This project will guide you through assembling and flying this exciting rubber-powered aircraft. Ready to take flight? Click to learn more!